This has got to be the easiest, most accurate exact width dado jig for a workbench out there and cuts from 1 inch to 34 inches wide. Be sure to let me know what you think in the comments. You know I always appreciate your feedback.
You can also watch the video for more details on the build.
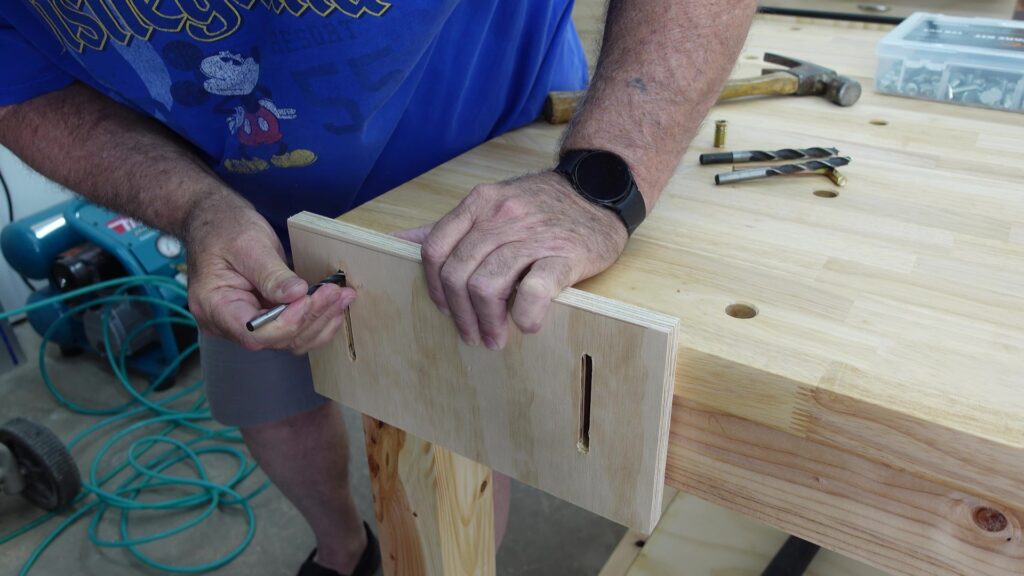
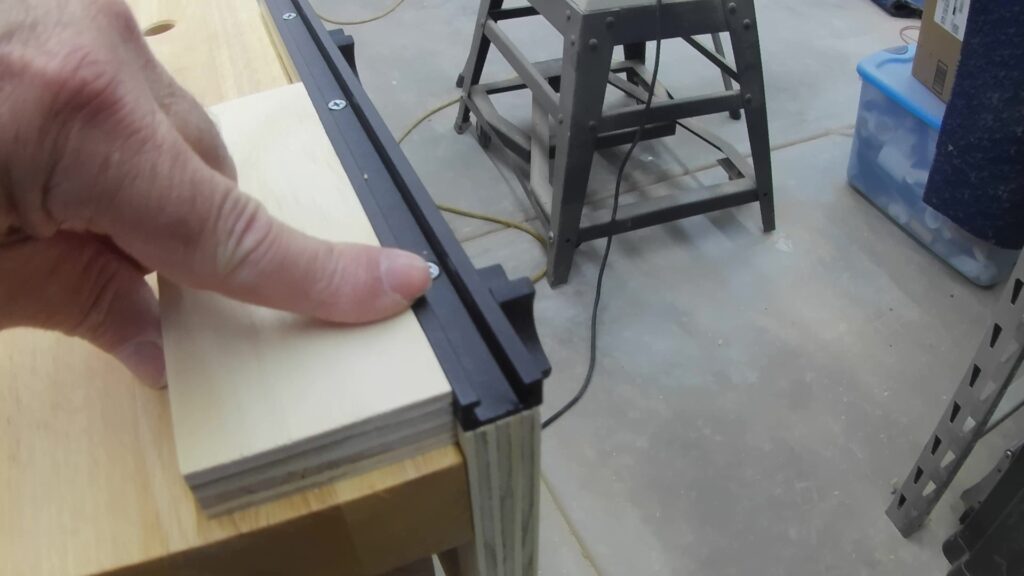
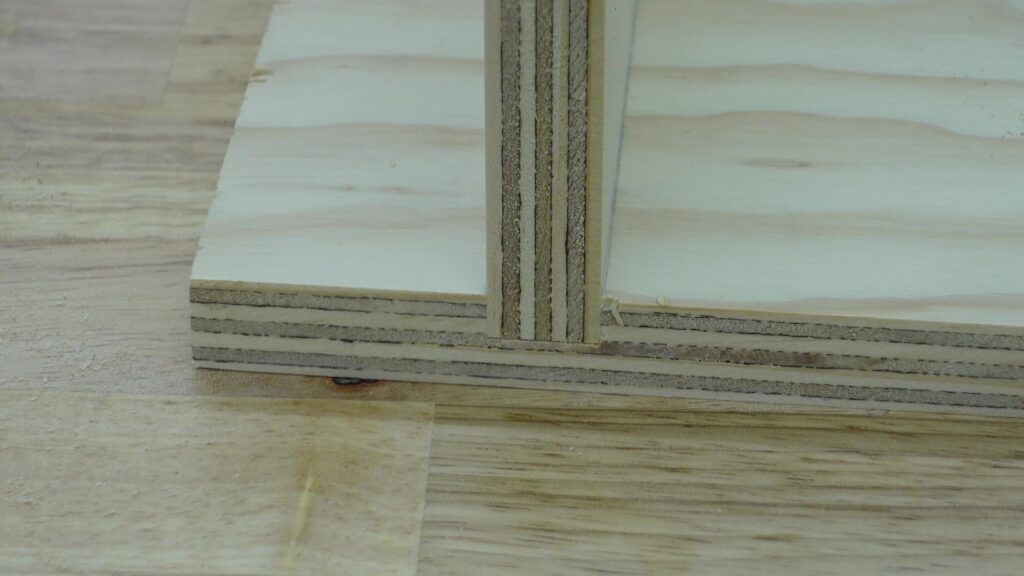
First thing is getting the jig uprights made from ¾ in plywood, the size will be determined by your needs but once you settle on that you want to put a t-track on the edge like this.


I’m going to trim this up to the final size needed and as always check to be sure it is square.
Next we will need to make slots so it will have an adjustable height , these will be a 5/16 slot but you can use a quarter if that is the t-track fittings you have, I use 5/16 most often for jigs.
I pre-drilled the 4 holes and will use the router table to finish up the slots, this you can do by hand if needed but if you do it with the router be sure you don’t lend the correct 5/16 inch bit out to a friend so I used a quarter inch and made a couple passes.

Be sure the bit blade is touching the outside closest to the fence then mark on the fence the starting point where you will drop the piece down on the cutter and ending point to raise it off.
I only cut half way through on the first pass and then raised the bit to open up the slot.
Check to be sure the t-track bolt fits in snug not loose through the entire slot, if not then trim until it does.
Here is a great product for your jigs and other stuff you may make, this is from Powertec. It’s a 128 piece t-track hardware kit that is a must and at a great price. I am not sponsored by them and paid for these myself and am very satisfied with the quality and assortment.

Okay back to it.
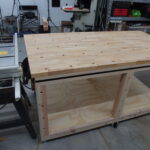
Get the t-bolts in and knobs on, to test fit. Now if you don’t have a t-track inlaid on the side of your bench keep watching to see how to do it with threaded inserts. Oh and if you like the worktable and you haven’t seen the video on this out-feed assembly table build I will link it below.
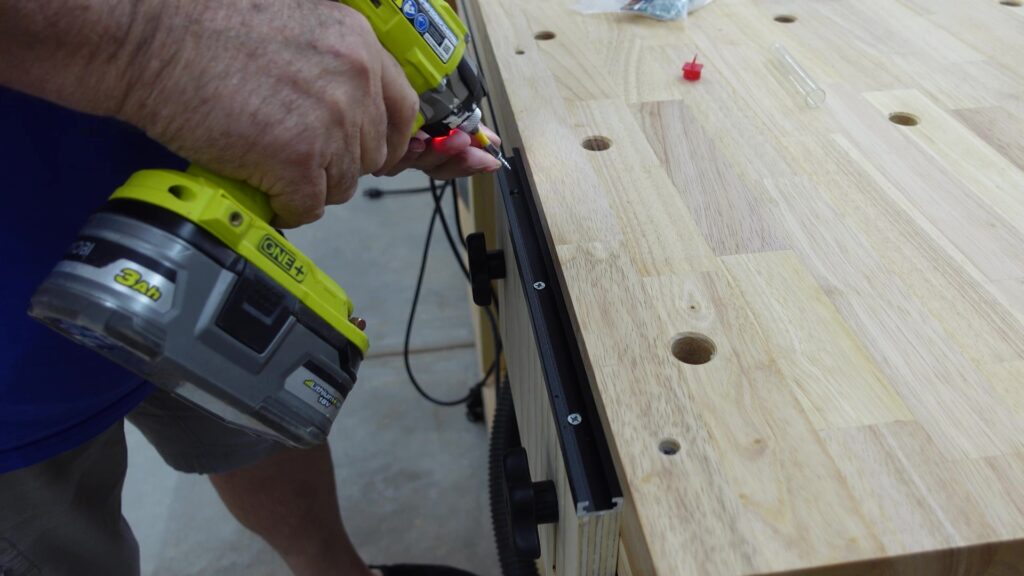
Now is a great time to install the risers t-track and I like to have the riser tight against the side of the tabletop and then install the track using a self centering bit and flush to the side of the tabletop like this.
Okay on to the other side and I will show how to install it with the threaded inserts
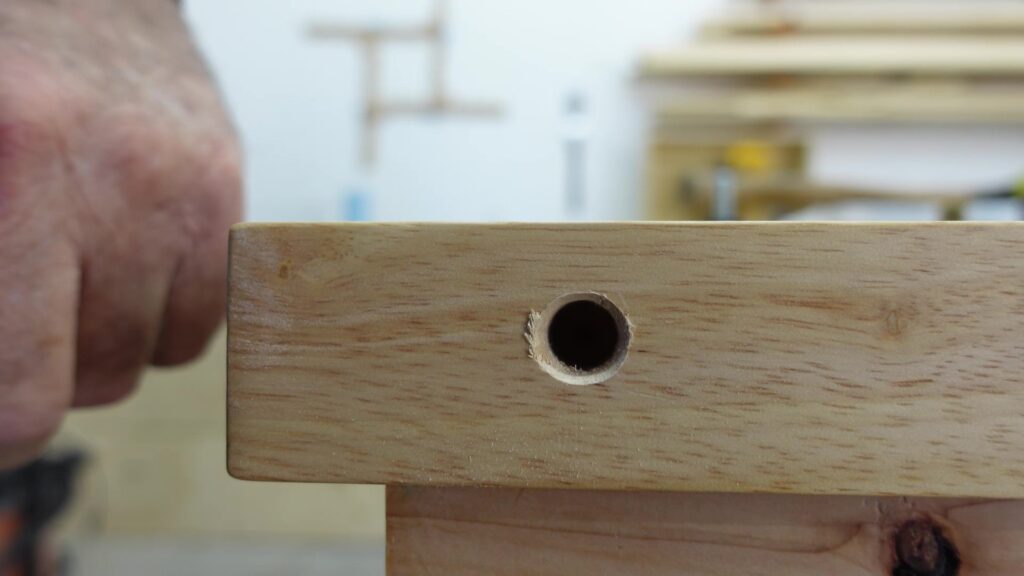
Take the raiser and flush it to the back side of the tabletop and use a brad point bit or another pointy type thingy and tap it for a starter hole.
You can put tape or a stop collar on the drill bit after measuring how deep you need to go, be sure to add at least 1/8 inch or more in depth to allow the bolt as much room as it needs not to bottom out.
I use the square block of wood to give my reference when drilling to keep it straight. Once the hole is drilled I chamfer the holes so the insert sets below the surface.
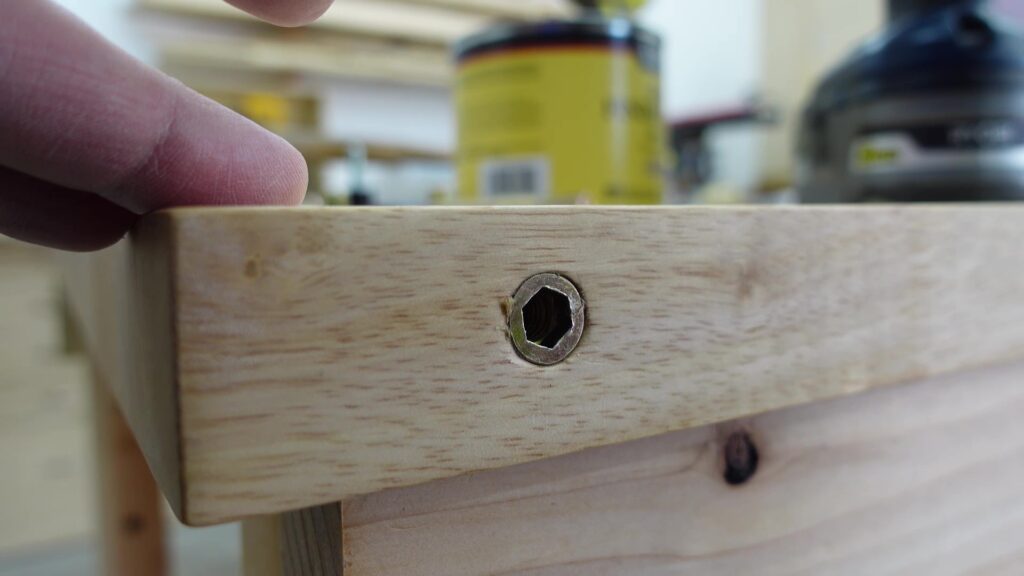
These are a tight fit so I use a little wax to help cut the threads in the hardwood. I am not too worried about adding lock tight or anything like that but that is your choice, so do what you do, I’m not judging.
I will set the riser up with the one hole to get the starter for the other hole.
Now we are all set to adjust the height of the risers by using a piece of the wood that matches what you are going to use or you could just use the piece you want to dado. The top of the t-tracks need to be flush to the top of the work piece like this and as you can see the risers are flush to the back of the worktable as mentioned earlier.
I do that just to help everything stay square to the table, the dog holes are dead square to the back of the top so I line up the stationary stretcher flush to that.
You only need one t-bolt for each end to work. I marked and drilled the 5/16 hole with about an inch overhang to the sides.
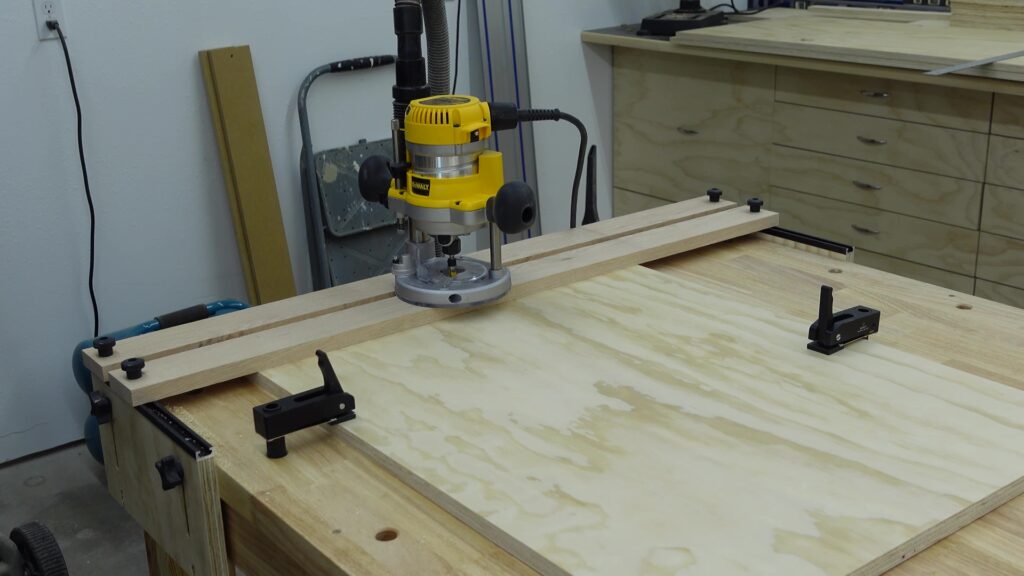
Now be sure your stretchers are a minimum ⅝ thick, I will be using ¾ oak but the pattern bit bearing needs it to ride on the jig stretchers at all times.

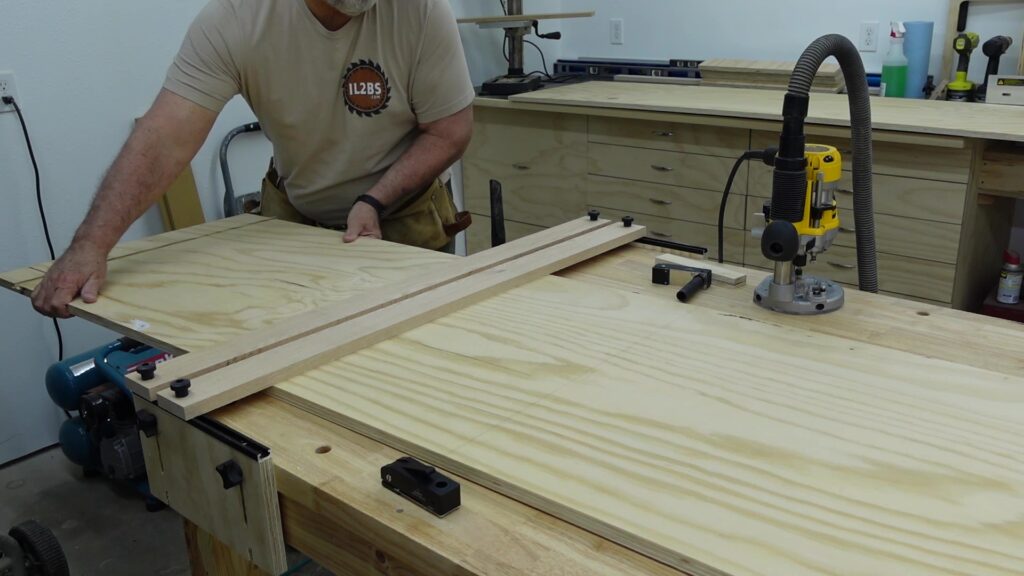
Time for the real test, so I marked out where I needed a dado on this scrap piece and slid it into the jig.
Next line up the first dado line to the stationary stretcher edge like this, next go ahead and clamp the material in place so it won’t move on you.

Now you are ready to set the other stretcher by placing the material you are going to use in the dado and slide it up snug not tight otherwise your dado will be too tight to use. Tighten up the stretcher t-bolt knobs and you’re ready to router.
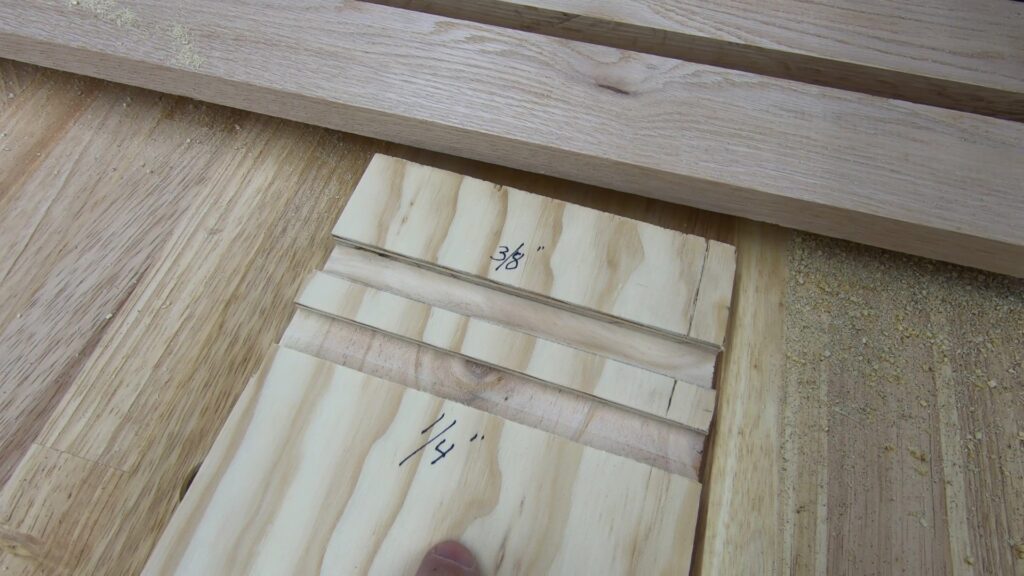
It cuts a clean bottom and has a snug friction fit just the way it should be, too tight means not enough glue will be left after squeeze out.
As mentioned earlier with this jig you can cut from an inch wide to 34 inches which is the limit to the tabletop, and once set you can cut a ton of dados fast, easy and most of all accurately. You can also make a quick router bit depth guide for faster set up as well.
Here is a full length video if you need more details on how this dado jig works. Be sure to Subscribe to our YouTube channel, I sure appreciate the support!
Thanks again for watching and hope to see you on the next one.